THE SHORT ANSWER
A window leak needs a water-path investigation before a repair choice. Water visible at the interior trim may have entered through the window, its installation joint, or a defect farther up the wall. Record the weather and wet locations, protect the room, and ask for a repair scope that identifies both the entry point and any concealed damage.
Start with what the leak actually tells you
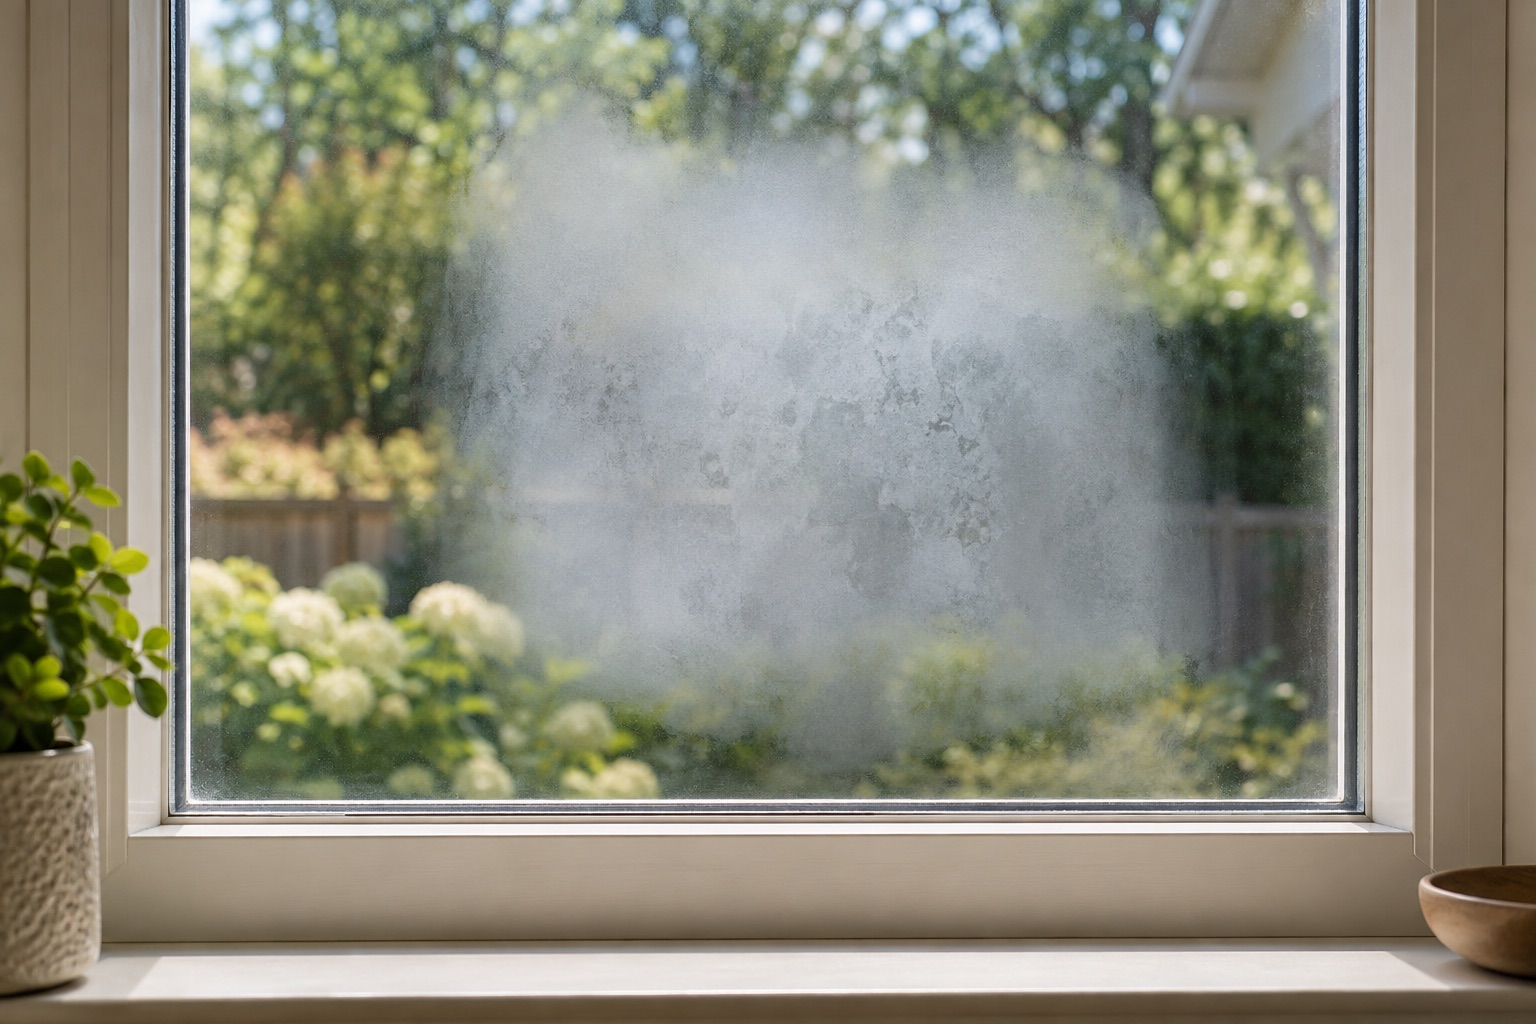
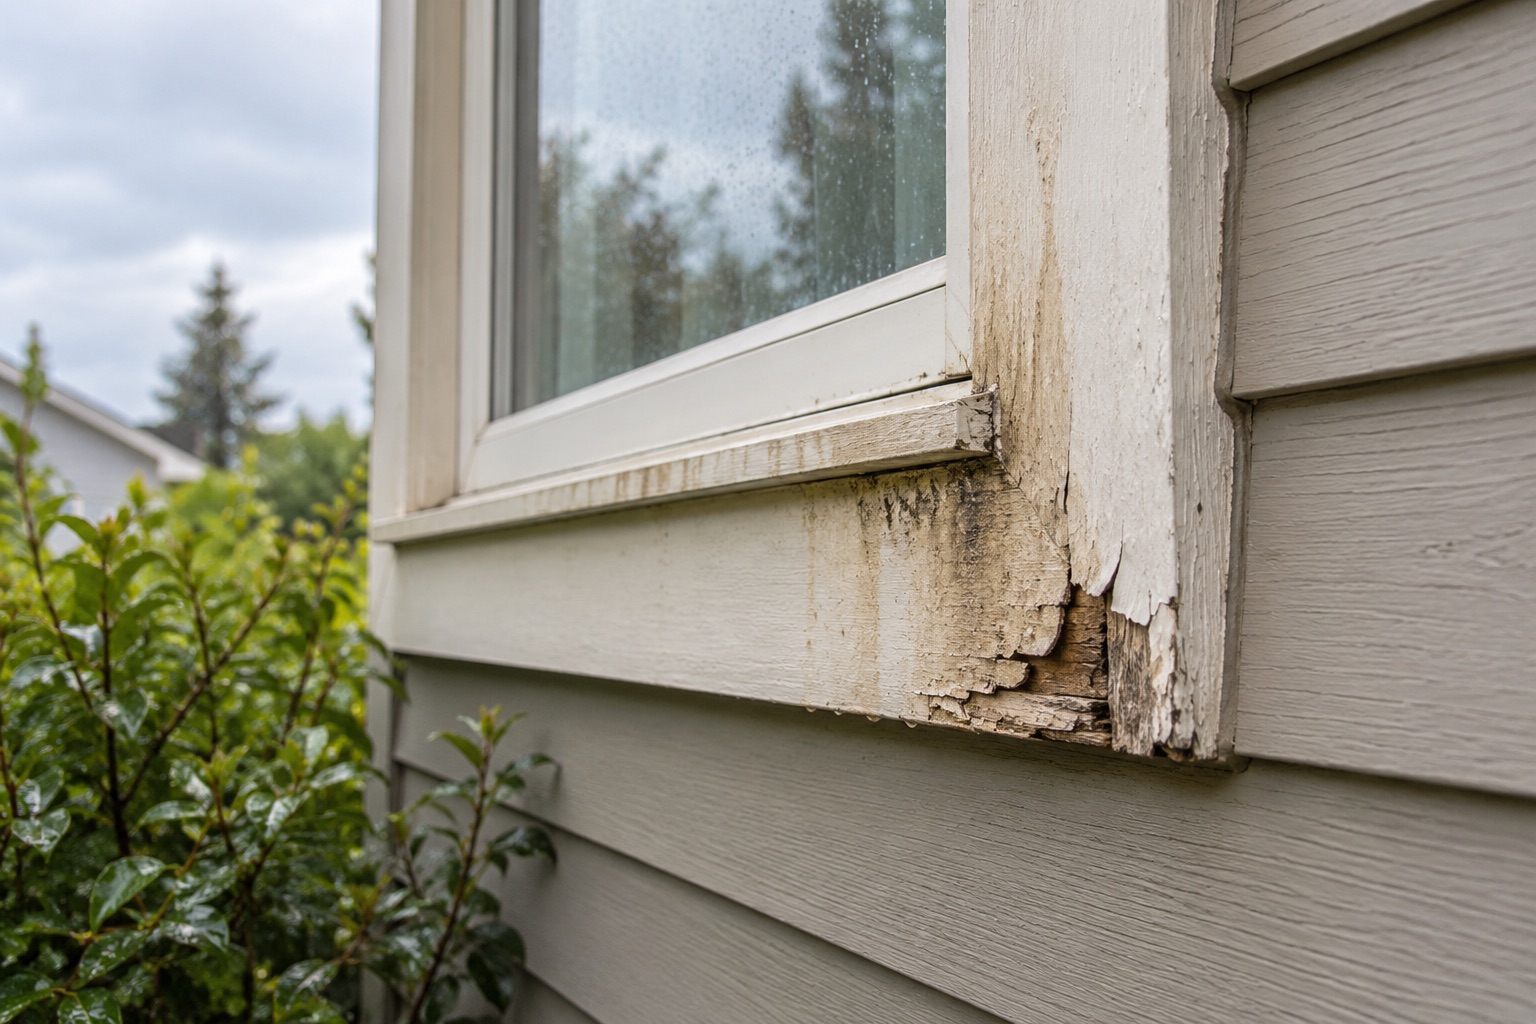
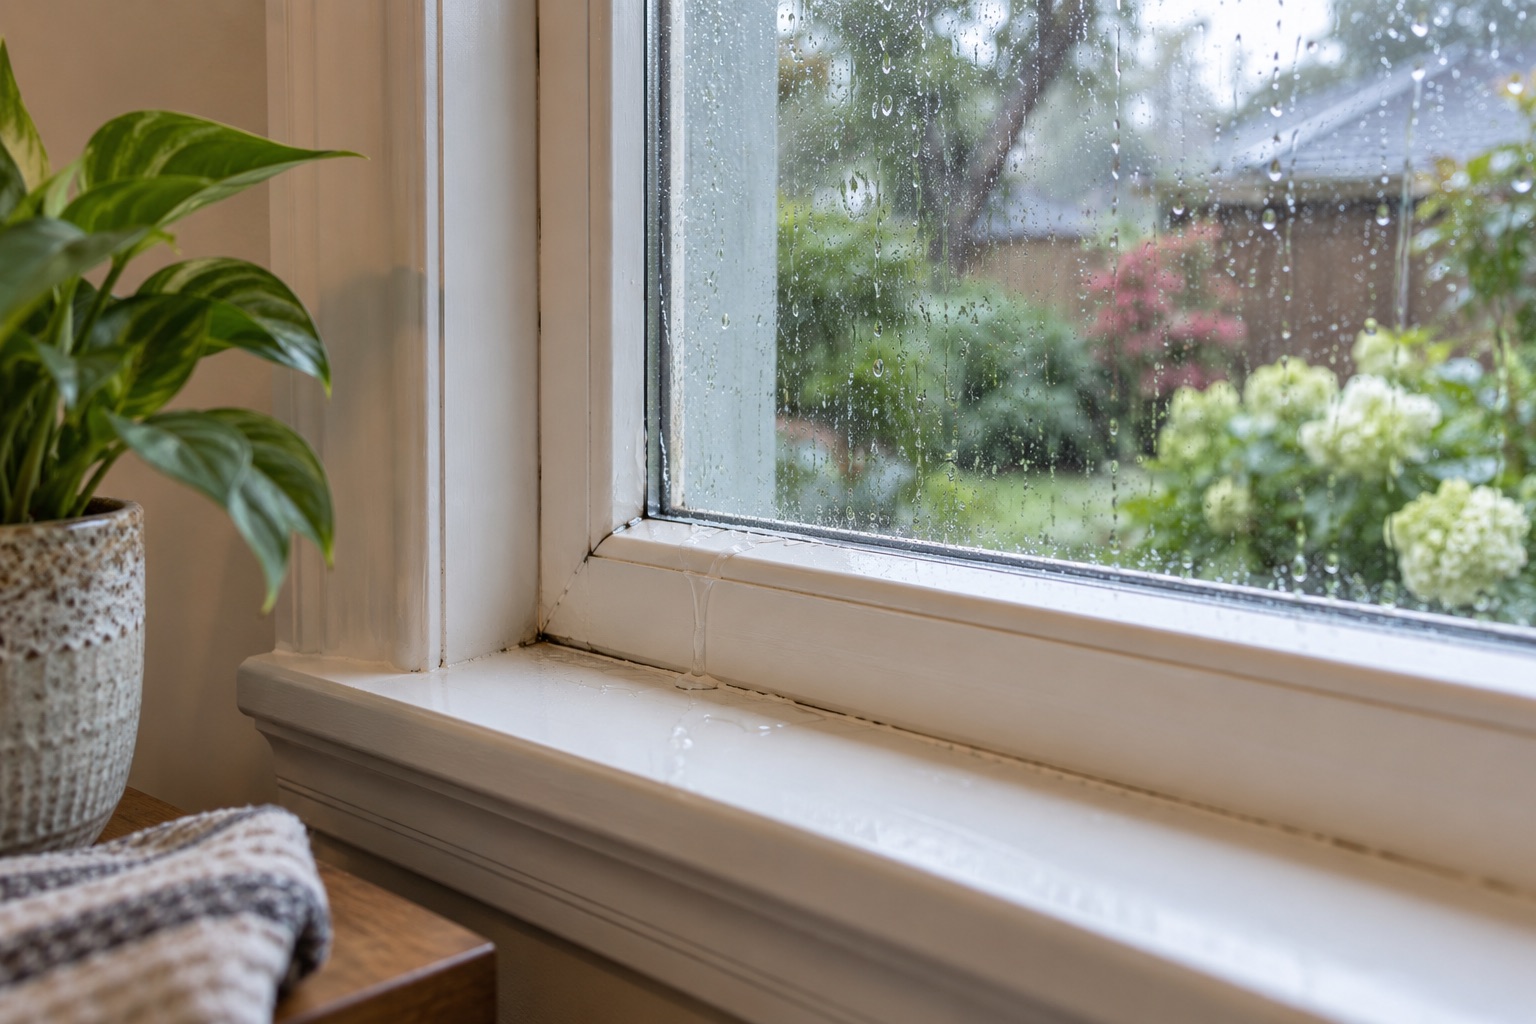
The place where water becomes visible is an exit point, not necessarily its entry point. A drip from the head casing can originate at the window head, but water can also travel down sheathing or framing from a roof intersection above. A wet sill can reflect a frame drainage problem, a rough-opening problem, or condensation. These possibilities call for different repairs. Buying a replacement window before distinguishing them risks replacing a serviceable product while leaving the water path intact.
A researched homeowner discussion described heavy-rain water at the top of a downstairs window and uncertainty about the roof. That is a useful problem statement, not evidence that every similar leak has the same cause. Treat advice based only on a photograph as a hypothesis to investigate.
Record the conditions without recreating damage
Photograph the first wet spot, the surrounding trim, and any stain boundaries. Note whether the leak follows wind-driven rain from one direction, every shower, or a delay after rainfall ends. Record whether windows above, gutters, balconies, or roof-wall intersections share that elevation. Keep observations from more than one event if it is safe to wait; an active damaging leak needs prompt attention rather than a longer experiment.
Move vulnerable belongings and protect accessible finishes. Keep clear of wet electrical devices or sagging material. Do not climb onto a wet roof or aim a pressure washer at the opening. An uncontrolled hose test can force water into joints that ordinary rain would not challenge and make the diagnosis harder.
Separate the product from the installation
Ask the investigator to distinguish water inside the window's designed drainage channels from water leaving those channels and entering the building. Some frames contain drainage features that must remain open. Sealant across an unfamiliar slot may conceal the symptom while obstructing drainage. Identify the manufacturer and model where possible, then obtain its maintenance and water-management instructions.
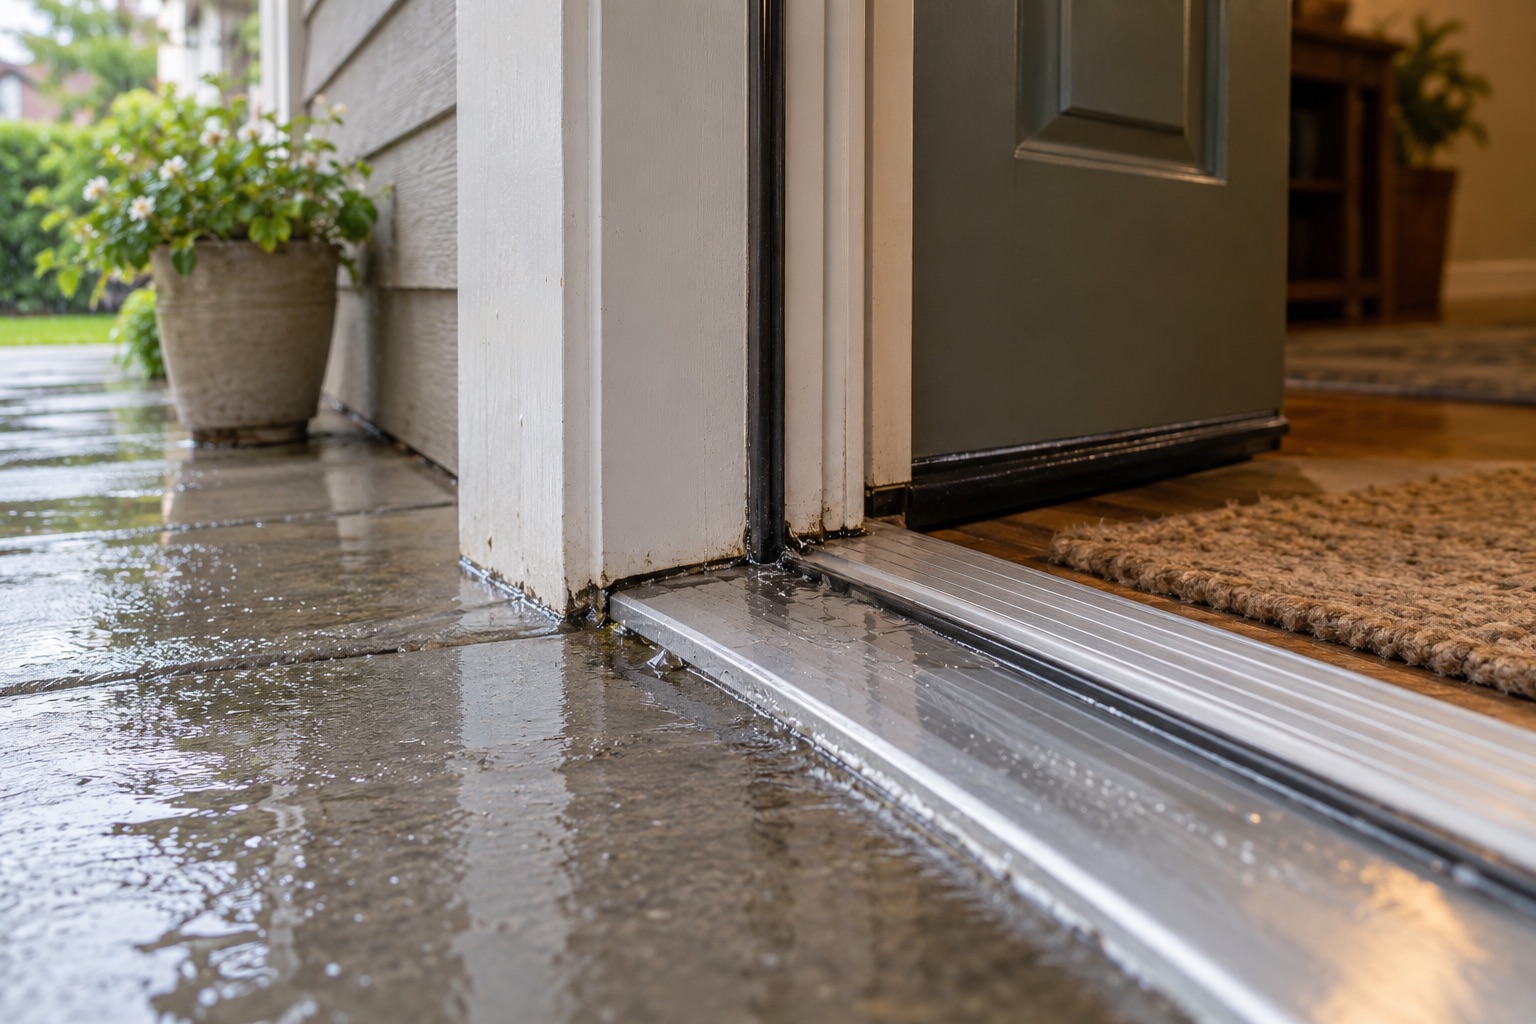
The installation is another system. The opening needs a way to direct incidental water outward. PNNL's window and door flashing guidance describes integration between flashing and the wall's water-control layer. The practical question is whether the layers work together, not simply whether a visible bead of sealant looks new. A neatly finished interior reveals little about that concealed relationship.
Investigate the wall above the stain
The inspection should follow plausible routes upstream. Roof-to-wall transitions, penetrations, upper windows, gutters and cladding terminations may matter more than the nearest trim joint. PNNL's guidance for existing roof-wall intersections explains how these junctions must direct water away from the wall. It supports examining the whole drainage path when a window is the first visible symptom.
Ask for photographs showing what was observed and what remains inaccessible. If selective removal is proposed, define the initial opening, how the surrounding area will be protected, and who restores it. A sensible investigation proceeds in stages. It does not begin by removing every window or by declaring the roof sound because the interior ceiling looks dry.
Make testing answer a specific question
A controlled water investigation should be designed and performed by someone familiar with the installed assembly. Ask which joint or elevation is being isolated, how water will be applied, and how the observer will tell one potential path from another. Testing everything simultaneously may reproduce a leak without locating it. The written record should connect each test condition with the resulting observation.
Moisture readings can help map affected materials, but the report should name the instrument, material setting and comparison area. A reading alone does not establish where water entered or whether framing remains structurally adequate. Thermal images also require confirmation; temperature differences can have causes unrelated to moisture.
Compare repair proposals by what they reach
A sealant repair may be reasonable when a specific serviceable joint is identified and the underlying drainage arrangement is sound. Opening cladding or removing a window may be necessary when flashing cannot otherwise be corrected, deteriorated material is concealed, or the product itself has failed. Compare these proposals by their diagnosis and access requirements rather than by price alone.
For a hypothetical example, imagine an intact window below a poorly managed roof-wall junction. Replacing its sash would not correct water descending behind the cladding. Conversely, extensive roof work would be poorly targeted if a documented frame defect is the actual source. The value of diagnosis is avoiding those mismatched scopes, not guaranteeing the smallest repair.
Include drying and concealed-condition decisions
The repair scope should address what happens after wet material is exposed. Ask who assesses damaged sheathing or framing, when specialist input is required, and which materials can be retained after drying. Define how additional work is documented before the opening is closed. A photograph of fresh trim is not proof that the substrate was sound.
Where mold is present, cleanup and moisture correction belong in the same plan. Avoid treating stain-blocking paint as remediation. Record accessible moisture conditions before closure and identify any remaining inaccessible areas. The appropriate drying assessment depends on the materials and instrument; there is no single universal meter number that certifies every wall ready for reconstruction.
Accept the repair with evidence and a follow-up plan
Before cladding or interior finishes hide the work, obtain photographs of the corrected interface and any replaced materials. Confirm that drainage paths remain functional and the actual product instructions were followed. Ask what test or observation supports completion, including its limits. Passing one brief test does not establish performance under every future wind and rain condition.
Keep the diagnosis, photographs, product identification and repair warranty together. After the next relevant rain, inspect the previously affected accessible areas and record whether moisture returns. If it does, share the original evidence rather than starting again with another layer of caulk. A useful handover tells the next investigator what was changed and what was never established.
BEFORE YOU PROCEED
Your project checklist
- Record the first wet location and the weather conditions.
- Identify the window product and preserve its drainage openings.
- Ask whether the investigated path includes the wall and roof above.
- Obtain photographs of concealed repairs before closure.
- Separate source correction, damaged-material work and finish restoration.
- Agree on a documented verification and next-rain follow-up.
Questions that come up next
Will exterior caulk stop a window leak?
It can address a verified failed joint, but it cannot establish whether concealed flashing or an upstream roof-wall junction is defective. The repair should follow the identified water path.
Does a leaking window always need replacement?
No. A sound window may leak because of its installation or adjacent construction. Replacement becomes a separate decision after product condition, flashing access and concealed damage are evaluated.
EVIDENCE & SCOPE
Sources for this guide
Applies to: United States homeowner education. Climate, existing assembly, manufacturer instructions and locally adopted requirements govern project details; no nationwide code threshold is asserted.
Reddit discussions identify questions and experiences, not verified diagnoses or code requirements. Technical claims should be read with the linked primary source, product instructions and local requirements.
- Windows and Doors are Fully Flashedgovernment
Window and door opening drainage, sill pans, shingle-lapped flashing and visual verification. Technical guidance; local requirements and product-specific details vary.
- Flashing of Roof-Wall Intersections in Existing Homesgovernment
Roof-to-wall drainage and kick-out flashing as upstream sources of wall and window leaks. Technical guidance; local requirements and product-specific details vary.
- Window leaking a lot of water during heavy rainreddit
An anonymized homeowner question that informed the article. Retrieved through search excerpts; anecdotal evidence, not a technical diagnosis.
- Rain leaked through window. How to fix?reddit
An anonymized homeowner question that informed the article. Retrieved through search excerpts; anecdotal evidence, not a technical diagnosis.