THE SHORT ANSWER
Persistent pooling in a niche or on a bench calls for checking the finished geometry and the underlying shower detail. A new cap or thicker grout may hide the symptom without correcting drainage or waterproofing. Document where water remains, identify the system and plan any tile removal so that the concealed protection can be restored and verified.
Document the water pattern
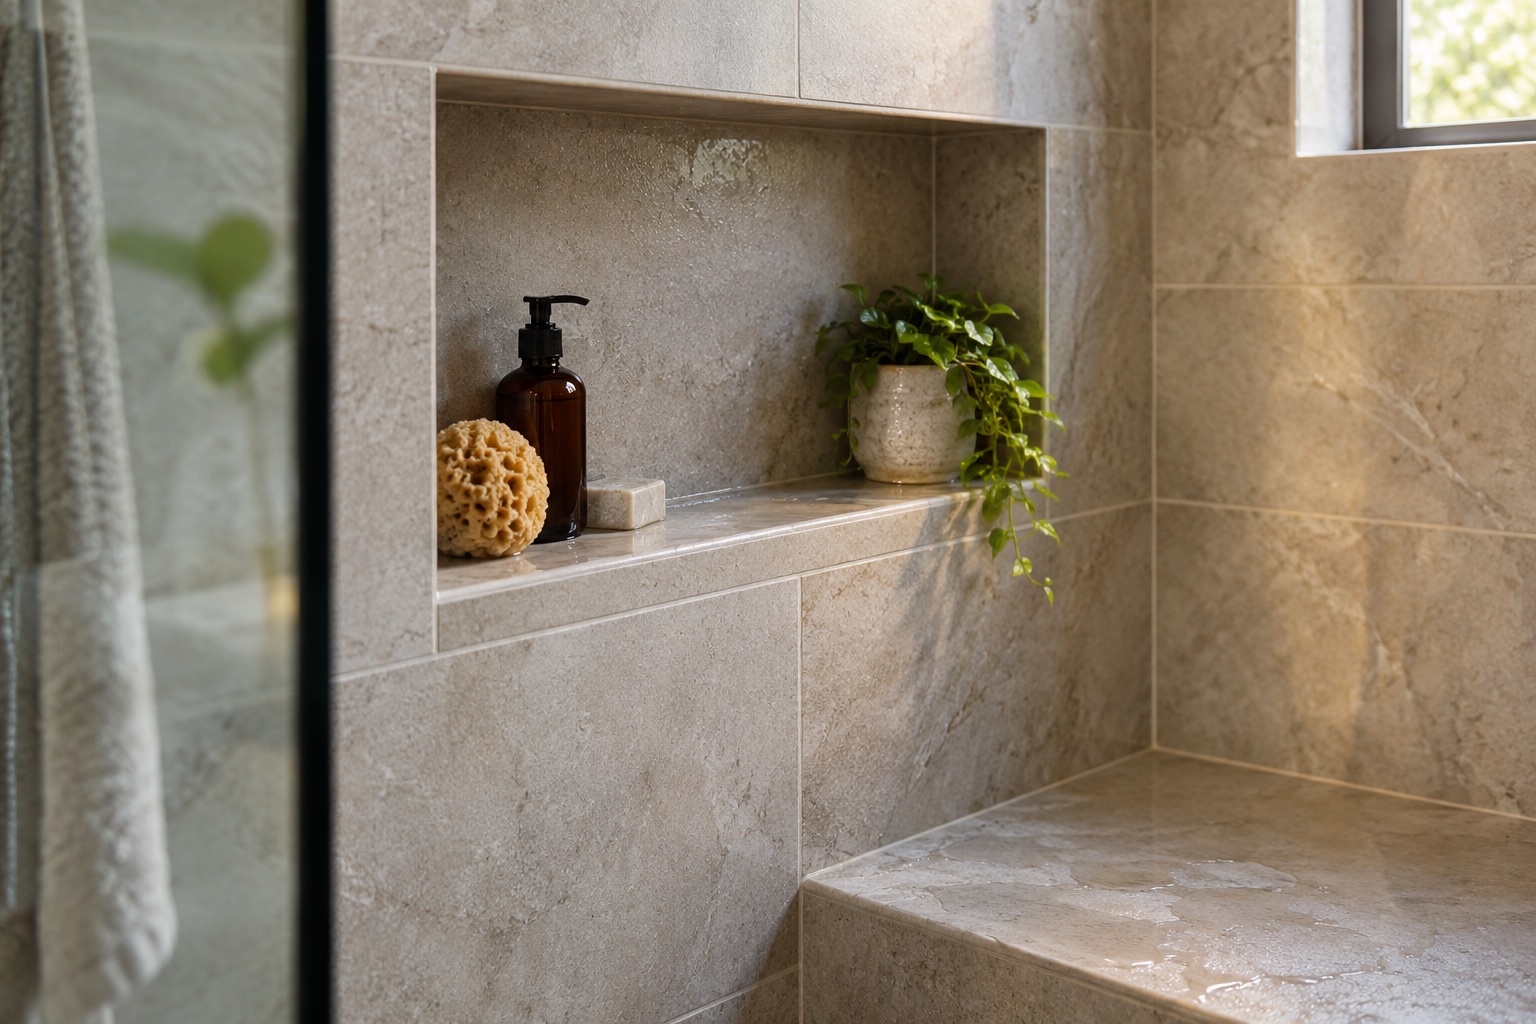
Observe the feature after ordinary shower use and note where water collects, how deep it appears and whether it drains slowly or remains in a distinct depression. Photograph the surface from the front and side. Include the shelf edge, corners and any objects that might block drainage.
The niche-pooling discussion behind this article described a newly finished shelf that retained more water than the owner expected. The owner also worried that repair would damage the membrane. Both concerns are valid subjects for assessment: surface geometry affects daily use, while destructive repair can affect a more important concealed layer. Do not jump from a photograph to a precise slope diagnosis. Establish what was built, which surface is retaining water and whether leakage or other damage is also present.
Check the finished surface in more than one direction
A shelf can slope toward the opening overall yet contain a low area near a corner, grout joint or trim. A raised edge can form a small dam. On a bench, the relationship between the seat, wall joint and front edge matters. Use appropriate measurements with the installer rather than relying solely on whether a level bubble appears centered.
Consider the tile profile and the dimensions of the feature. Individual depressions, warped pieces or uneven setting can create a different repair problem from an entire shelf pitched the wrong way. Also remove ordinary stored items when evaluating drainage, since containers can interrupt water flow. The inspection should distinguish a film of water on a wet surface from a repeatable pool caused by geometry. Record those distinctions before selecting a repair.
Identify the manufacturer's detail
A prefabricated niche or bench does not guarantee that the finished surface was installed to drain. The Schluter niche-shelf guidance describes ways to create the required finished slope for that product. The Shower System Handbook supplies broader assembly details. Use the instructions that match the actual components rather than assuming every factory-made feature arrives ready for every tile arrangement.
Ask how the waterproofing, shelf and tile were connected and whether photographs exist from before finishing. The correct detail may differ between a prefabricated component and a site-built feature. Do not invent a universal repair based on adding mortar or changing one tile. The installer should explain how the proposed change maintains the approved assembly, including corners and connections that might be disturbed.
Look for evidence beyond inconvenient pooling
Pooling can be a maintenance and usability problem without a visible leak, but it should not distract from symptoms that require a wider investigation. Check for staining below the feature, loose tile, soft adjacent material or water appearing outside the shower. These observations need a qualified assessment of the possible water path.
A separate leaking-bench discussion involved a request to cover the seat with a stone slab. A cap may be part of a properly designed rebuild, but its presence alone does not prove that the failed connection beneath it has been corrected. If leakage is evident, stop treating the issue as a minor finishing adjustment. The scope should identify how access will be obtained, what will be inspected and how damaged materials and waterproofing will be addressed.
Compare repairs by what they disturb
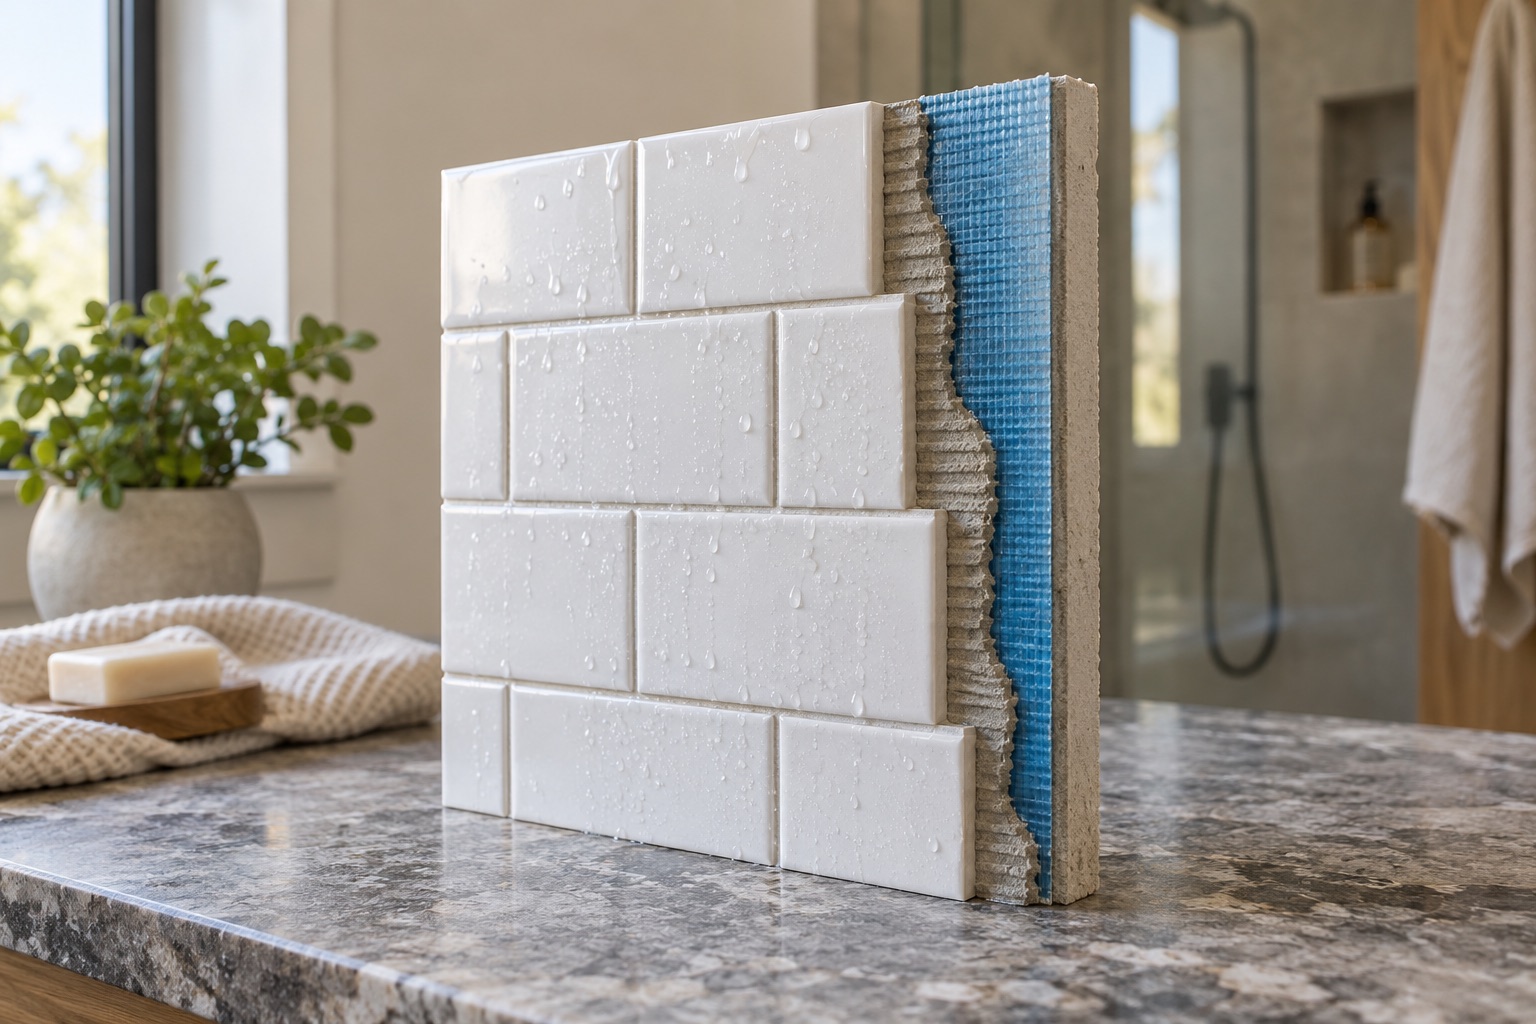
Replacing a surface tile, resetting an entire shelf and rebuilding a niche have different consequences. Removing bonded tile can tear or puncture a membrane. A repair that looks small from the room may require extending into surrounding work to create a reliable connection to sound waterproofing.
Ask the installer to describe the expected removal boundary and what happens if the membrane is damaged beyond it. Confirm that the proposed repair products and overlaps or connections are approved for the system. Avoid drilling a drain hole through a shelf or cutting a groove without understanding the assembly; that can create a new path into the wall. Similarly, building a grout ramp may reduce a puddle while leaving an awkward, weak or difficult-to-clean edge. Choose a repair that addresses geometry and preserves water control together.
Plan appearance and usability after correction
A thicker cap or changed tile layout can alter niche height, storage space and the relationship to surrounding joints. On a bench, it can affect seat height and edge comfort. Review those changes before approving material, especially if the feature was designed around a specific user's reach.
Use a sample or drawing to show the revised edge and joints. Confirm how water leaves the surface and how the new material will be cleaned. For a hypothetical narrow niche, adding a thick stone shelf might reduce pooling but make tall bottles unusable; rebuilding the original slope could better preserve the function. The cheapest visible alteration is not always the least disruptive once these consequences are considered. Include matching material availability and expected color differences in the decision.
Verify drainage and the repaired assembly
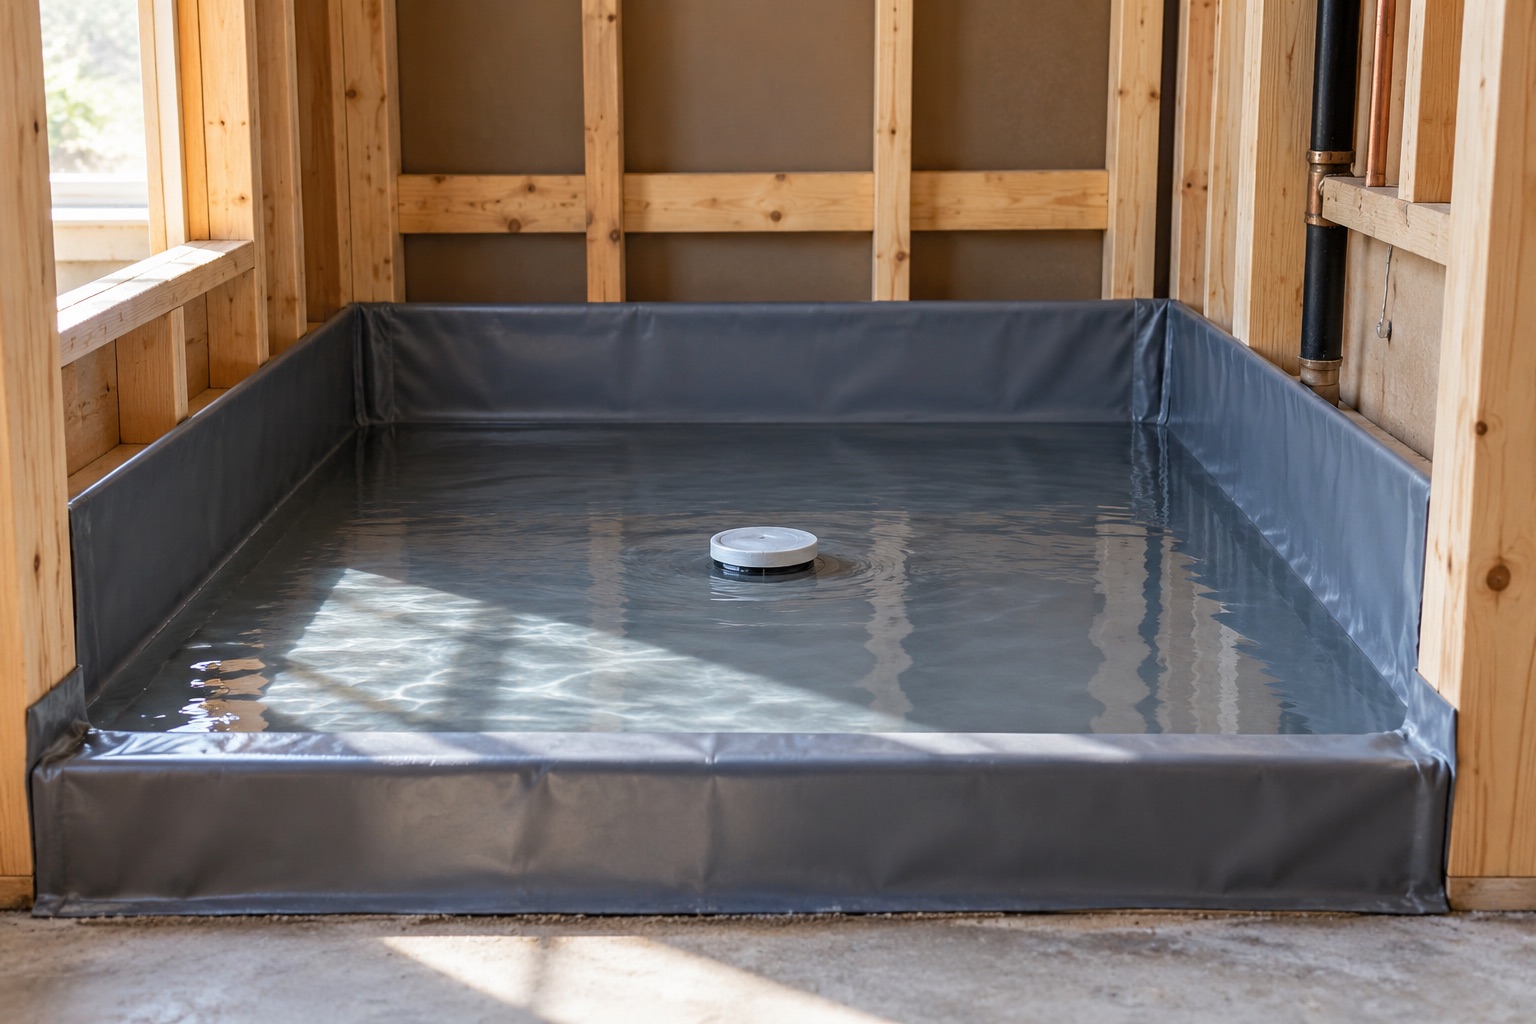
Before tile or a cap conceals the repair, retain photographs of restored waterproofing and complete any verification required by the selected system. Allow materials to reach the specified condition before testing or returning the shower to service. A quick water demonstration should not compromise uncured work.
After completion, observe the feature under normal use and compare it with the agreed drainage objective. Confirm that water is not trapped by the new edge or sealant detail. Inspect nearby joints for damage from the repair and keep the material information for maintenance. A satisfactory result should explain both why the old surface pooled and how the new detail addresses that cause. It should not depend on accepting a fresh finish as proof that concealed protection survived the work.
BEFORE YOU PROCEED
Your project checklist
- Photograph pooling with storage items removed.
- Measure the surface in more than one direction.
- Identify the actual niche or bench assembly.
- Check for leakage and adjacent material damage.
- Define membrane restoration before tile removal.
- Verify drainage only after the repair's required cure.
Questions that come up next
Can I drill a small hole to drain a niche?
Do not do that without an approved assembly detail. It can create a direct water path into concealed materials.
Will a stone cap fix a leaking bench?
Only a repair that addresses the verified failure and restores waterproofing can establish that; the cap alone does not.
EVIDENCE & SCOPE
Sources for this guide
Applies to: United States general material and workmanship guidance; selected-product instructions and applicable local requirements control.
Reddit discussions identify questions and experiences, not verified diagnoses or code requirements. Technical claims should be read with the linked primary source, product instructions and local requirements.
- Schluter: Installing a KERDI-BOARD-SN Niche Shelfmanufacturer
Shelf slope and avoiding water pooling. Manufacturer instruction for the named niche system; existing-shower repairs require assembly assessment.
- Shower niche pooling a lot..?reddit
Freshly tiled niche retains substantial water; owner worries repairs will damage the membrane. Search excerpt reviewed; the full discussion was not available during research. This is an individual homeowner account.
- Help! Tile Shower Leaking into Basementreddit
A leaking tiled bench prompts requests for a cheap surface sealer or cap instead of investigating the underlying assembly. Search excerpt reviewed; the full discussion was not available during research. This is an individual homeowner account.
- Schluter Shower System Installation Handbookmanufacturer
Shower assemblies, curbless details, niches, benches and testing. Indexed manufacturer handbook reviewed; assembly and testing details depend on the selected system.