THE SHORT ANSWER
Cabinet-paint failures often begin with the surface beneath the new coating or with an application and cure mismatch. Identify the substrate and existing finish, then determine whether the problem is loss of adhesion, softness, impact damage or moisture. Repainting over a failing layer is unlikely to solve it. Test a complete compatible preparation and coating system before repeating the job.
Classify the failure before buying more paint
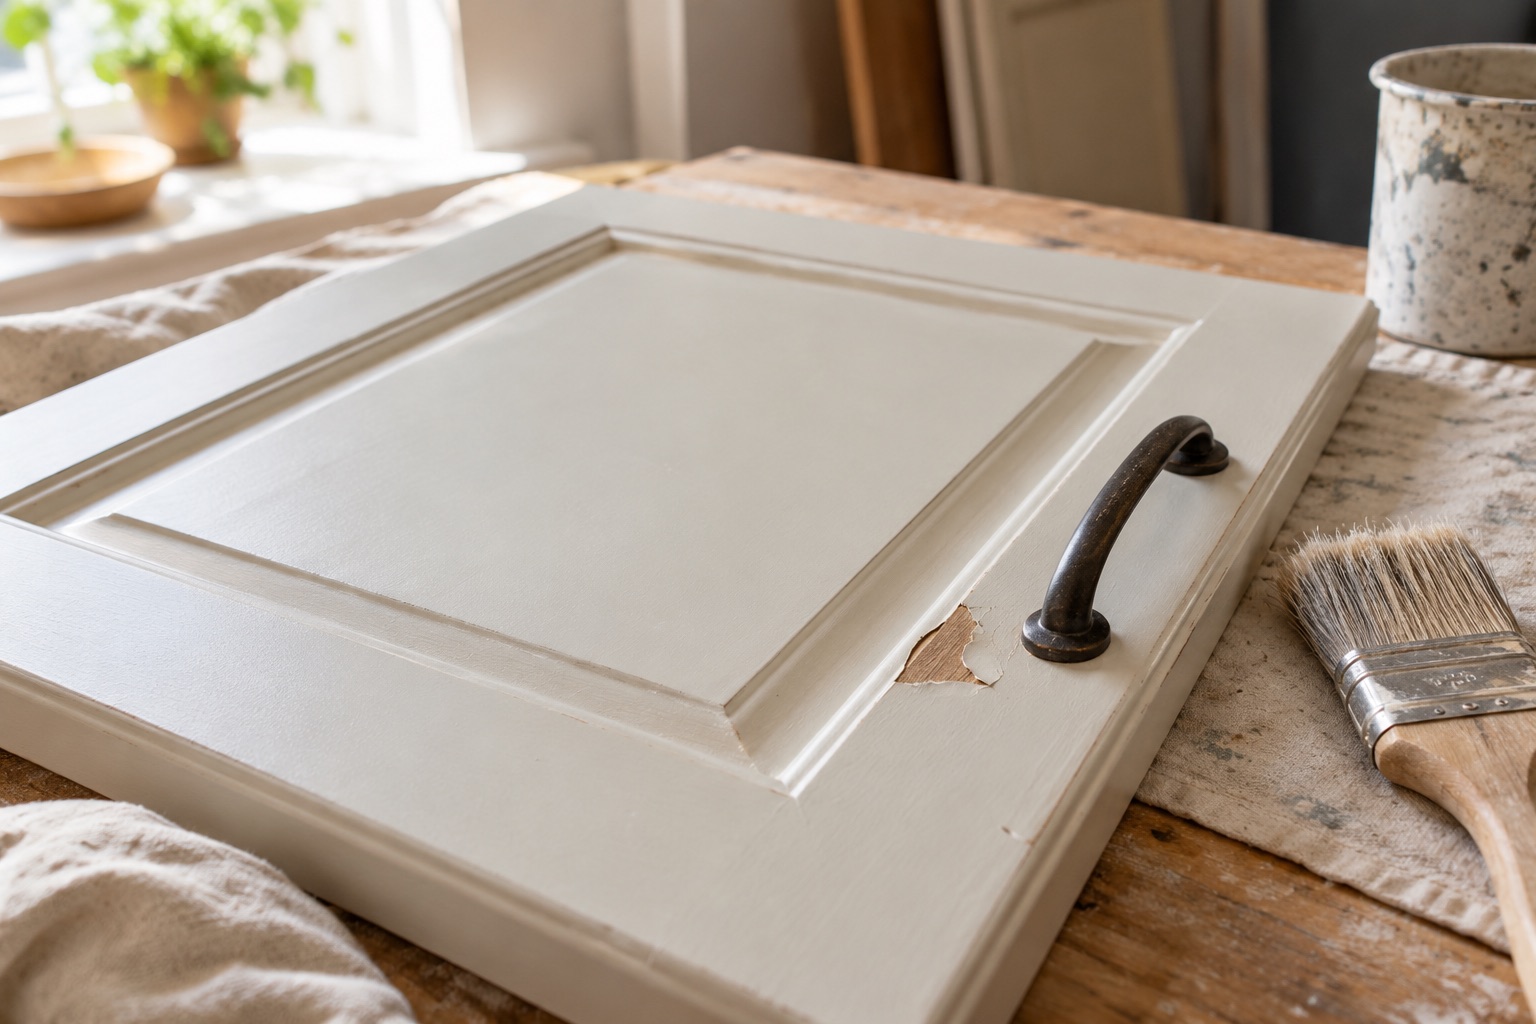
Peeling exposes a separation between layers or from the substrate. Sticky doors suggest a different problem from a chip caused by a handle striking another front. Swollen edges near a sink may involve the cabinet material itself. Describe where the failure occurs and which layer comes away rather than calling all of it bad paint.
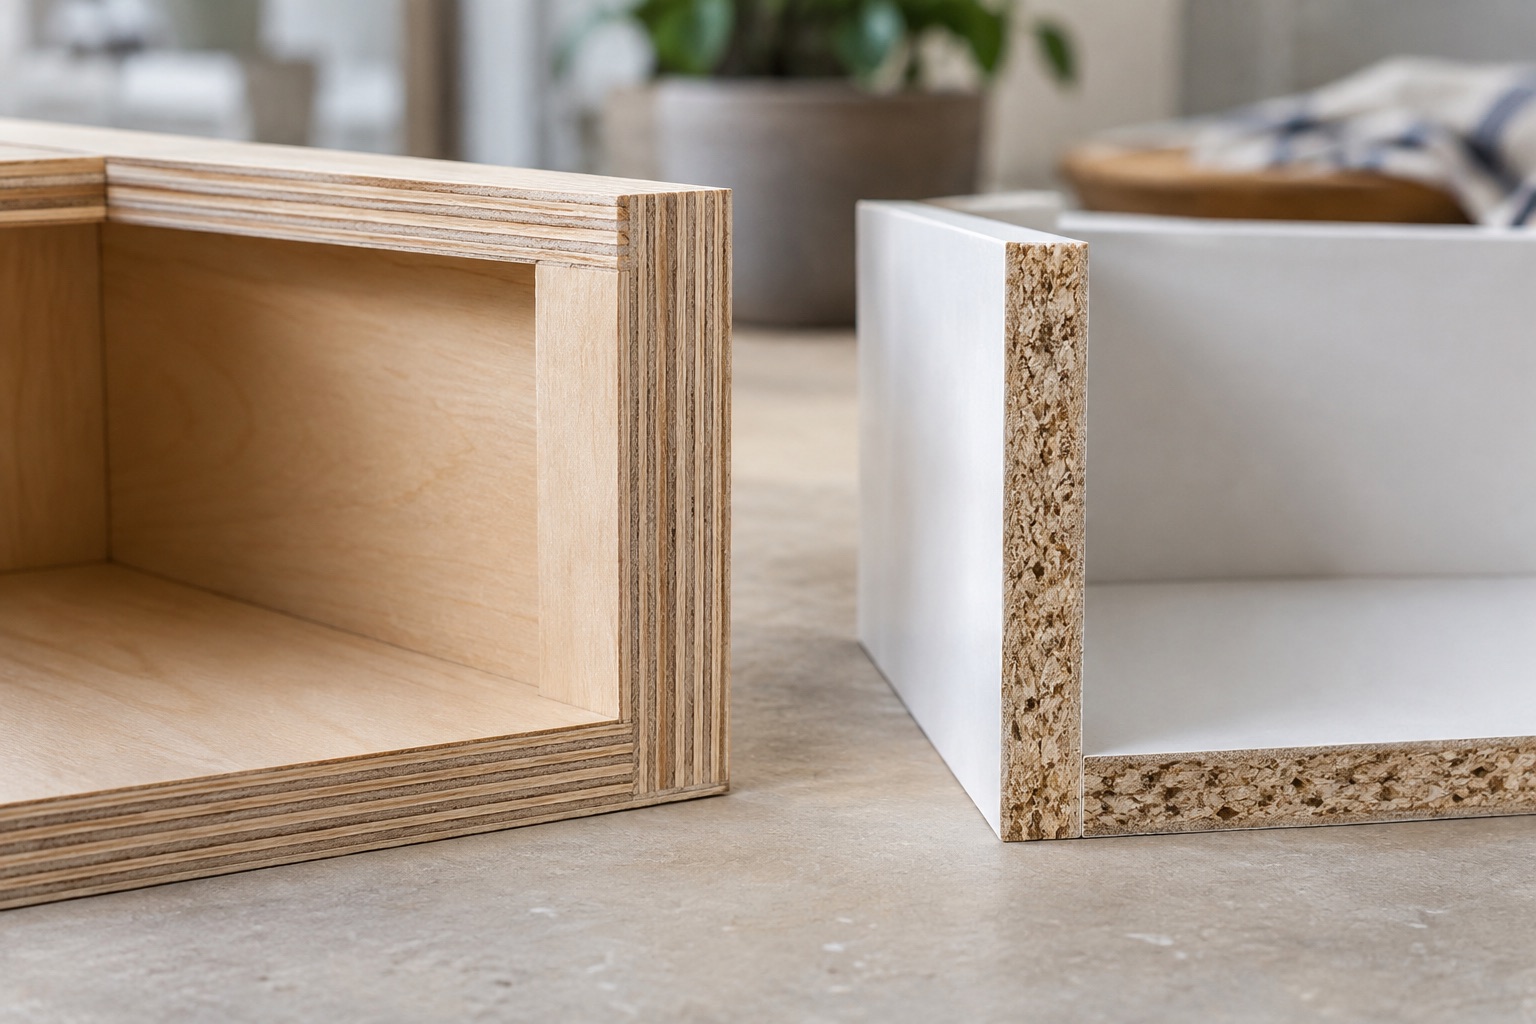
The peeling-cabinet discussion behind this article revealed uncertainty about whether the fronts were wood, veneer or a composite construction. That matters because preparation and repair options differ. Photograph the damaged area and an undamaged comparison. Record when the work was done, which products were used and how soon doors were reinstalled or cleaned. These facts can help distinguish an incompatible system from damage introduced before the coating reached its intended service condition.
Identify the substrate and old finish
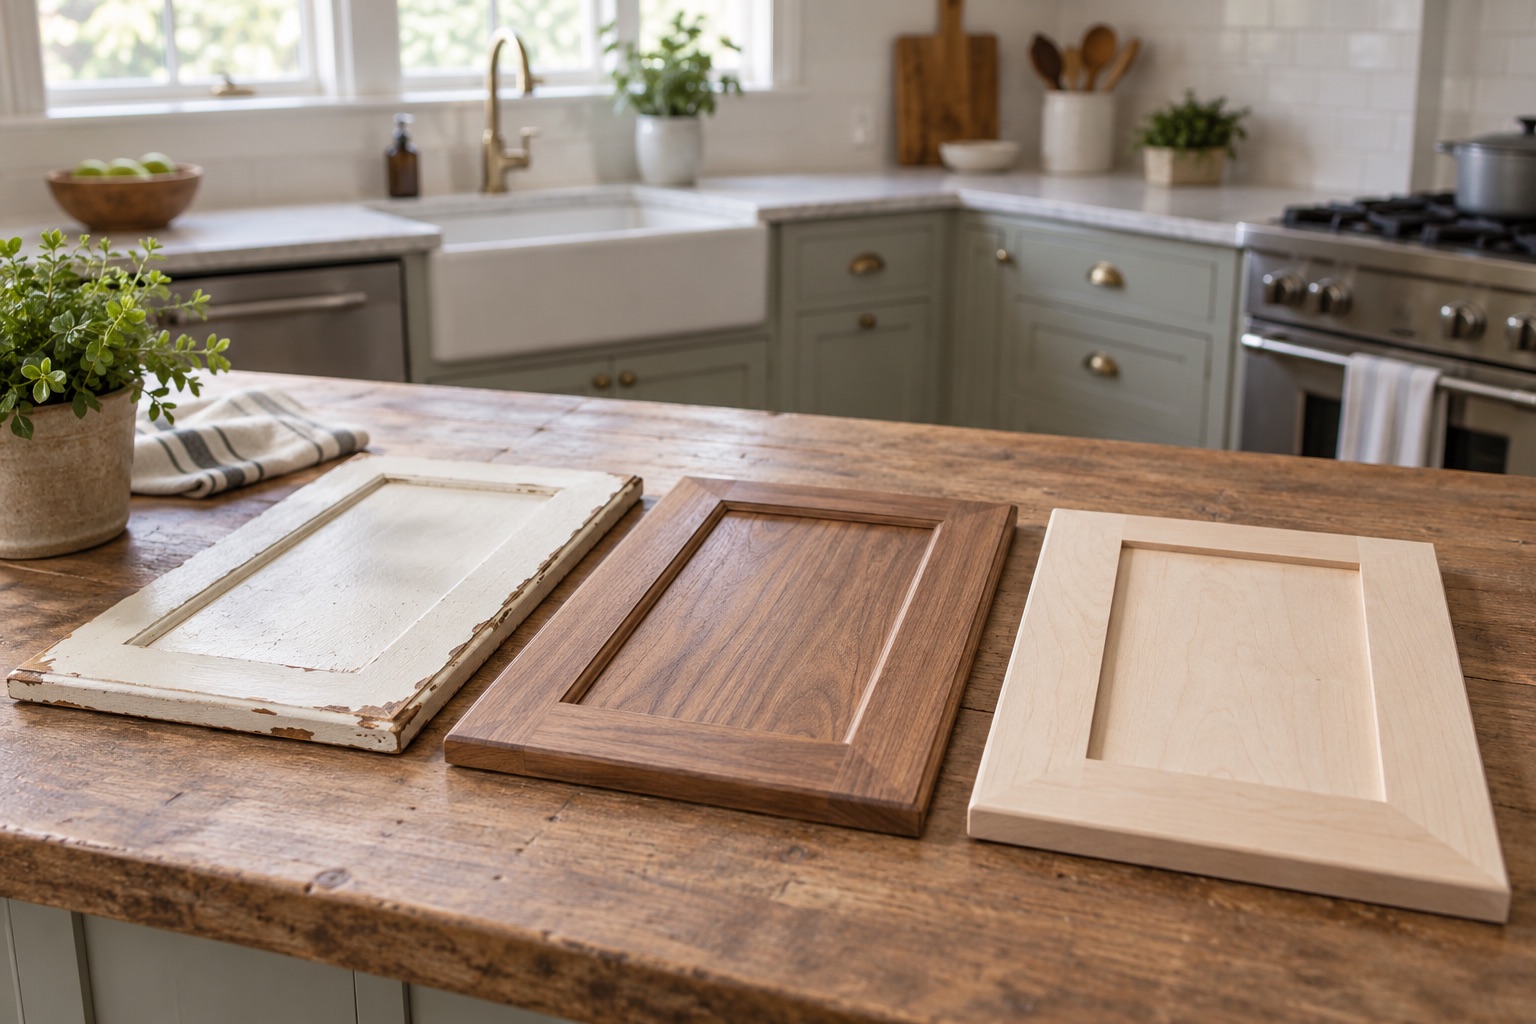
A solid-wood door, thin veneer, factory-coated panel and laminated front should not receive the same assumptions about aggressive sanding. Find product records where possible and inspect an inconspicuous edge. A damaged decorative layer may not be repairable by simply smoothing it and applying another coat.
Ask the coating supplier or qualified finisher how the existing surface should be prepared. If the old paint may contain lead or another hazardous layer, resolve that before abrasion. EPA's remodeling guidance specifically raises old-coating hazards during paint preparation. Do not use an online cabinet tutorial as permission to sand an unidentified older finish in an occupied kitchen. The preparation plan should match both the material and the conditions in the home.
Remove contamination rather than sanding it around
Kitchen surfaces collect cooking residues, cleaners and hand oils, especially near handles and the range. A new coating needs a surface prepared according to its instructions. Sanding before appropriate cleaning can spread contamination rather than remove it. Conversely, a cleaner left as residue can create its own adhesion problem.
The Benjamin Moore cabinet-painting guide emphasizes cleaning, preparation and a suitable coating process. Use the selected products' directions to determine cleaning, rinsing, drying and abrasion steps. Pay attention to profiles and edges, where contamination can remain after the flat areas look clean. A sample door should be prepared through the full intended sequence. If the test fails, investigate that process before scaling it to every cabinet in the kitchen.
Choose primer for the actual problem
Primer selection should respond to the substrate, existing coating and any staining or adhesion requirements. The word bonding on a can does not establish that it will secure a loose layer underneath. A stain-blocking product and an adhesion-promoting product may address different concerns, so the full system needs to be compatible.
Remove or repair failing material as the system requires rather than burying it under more coats. Ask what will happen at transitions between bare areas and sound old finish. If only some surfaces receive repair, they can absorb or reflect the new coating differently. Test appearance as well as adhesion. A well-bonded finish with obvious patch outlines may still fail the agreed visual goal. Specify the expected grain visibility, smoothness and sheen on the sample before work proceeds.
Distinguish drying, recoating and service readiness
A coating can feel dry while remaining vulnerable to pressure, cleaning or blocking where two painted surfaces touch. Temperature, humidity, coat thickness and air movement can affect the process. Follow the actual product's recoat and cure instructions rather than rushing because the kitchen needs to be usable.
Plan where doors will dry and how they will be supported without marking the finish. Confirm when bumpers, hardware and doors can be installed, and whether the first weeks of use require special care. Do not stack freshly coated fronts tightly together or assume harder cleaning will remove tackiness without affecting the coating. If a finish remains unusually soft beyond the expected conditions, document the application history and consult the product supplier before adding another layer that may make diagnosis harder.
Address mechanical and moisture damage separately
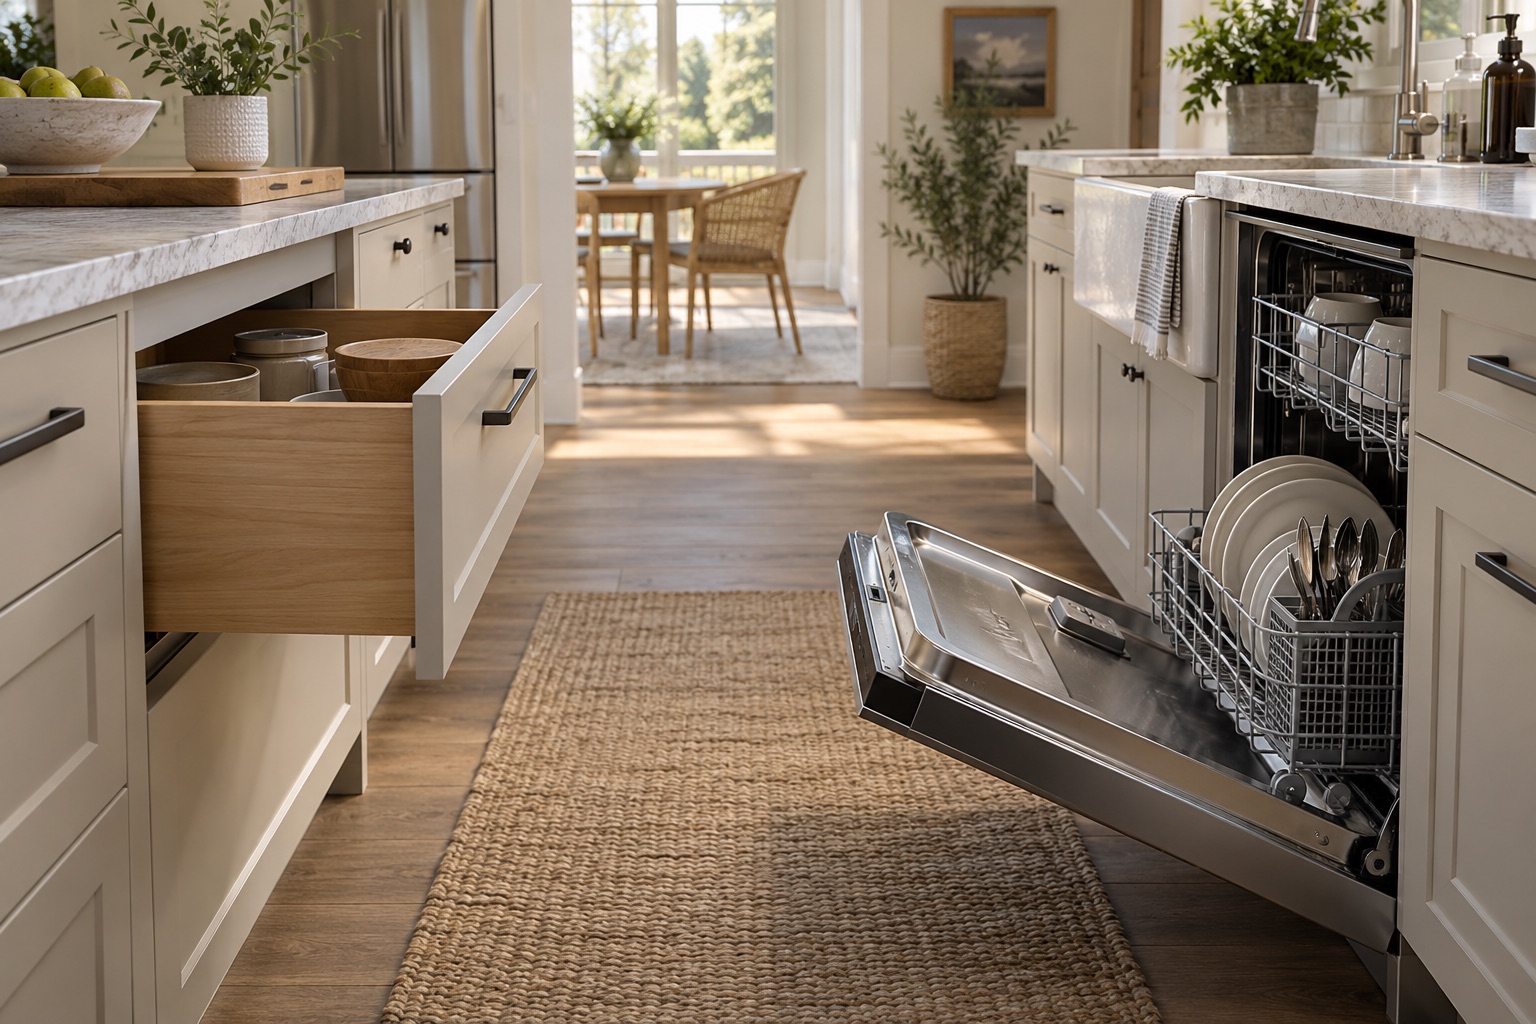
Check hinges, pulls and adjacent fronts for contact. A door that rubs at every opening can damage a sound coating, and repainting without adjustment will reproduce the mark. Inspect handle holes and edges where repeated impact is concentrated. Hardware should function without relying on the paint film as a bearing surface.
Around sinks and appliances, determine whether moisture is reaching the substrate. A swollen panel or lifting veneer requires a material repair decision, not just touch-up paint. For a hypothetical cabinet with chipping only at one poorly aligned corner, adjustment and a localized compatible repair may be appropriate. Widespread peeling across multiple doors points toward a broader preparation or coating issue. Let the pattern determine the scope instead of automatically stripping everything or repainting only the most visible spots.
Approve a repeatable repair process
A repair proposal should identify the layers being removed, the retained substrate, preparation products, primer, topcoat and cure plan. Include protection of the occupied kitchen and handling of any hazardous existing coating. Approve one representative door or area before committing to the full set when the outcome is uncertain.
At completion, inspect edges, profiles, exposed ends and touch points as well as the flat door faces. Compare the finish with the approved sample and operate doors and drawers after the specified readiness point. Keep the product list and application dates for maintenance. The durable solution is not necessarily a tougher paint. It is a compatible coating over a sound prepared surface, allowed to cure under suitable conditions and protected from avoidable rubbing and moisture.
BEFORE YOU PROCEED
Your project checklist
- Identify peeling, softness, impact and substrate swelling separately.
- Record substrate, old finish and new product names.
- Resolve old-coating hazards before sanding.
- Test the complete cleaning, primer and topcoat sequence.
- Follow distinct recoat and service-readiness requirements.
- Adjust rubbing hardware before finish repair.
Questions that come up next
Will a bonding primer hold down peeling paint?
It should not be used to conceal an unsound underlying layer. Determine the required removal and preparation.
Why does cabinet paint chip even after it feels dry?
Service readiness can lag behind surface drying, and rubbing or impact may also damage the coating. Check both.
EVIDENCE & SCOPE
Sources for this guide
Applies to: United States general material and workmanship guidance; selected-product instructions and applicable local requirements control.
Reddit discussions identify questions and experiences, not verified diagnoses or code requirements. Technical claims should be read with the linked primary source, product instructions and local requirements.
- Benjamin Moore: How to Paint Kitchen Cabinetsmanufacturer
Degreasing, preparation, priming, application and curing. Manufacturer painting guidance; drying and curing times depend on the selected coating and conditions.
- EPA: Addressing Indoor Environmental Concerns During Remodelinggovernment
Painting, low-emitting products and old-coating hazards. Indexed US federal guidance reviewed on painting and indoor-air concerns.
- cabinet paint is peelingreddit
Repainting questions reveal uncertainty about veneer, particleboard, old finish and primer compatibility. Search excerpt reviewed; the full discussion was not available during research. This is an individual homeowner account.